I love sharing my passion for crafts with my son LB and try to have our projects be approachable enough that he can take the lead with successful results. One such project was making a butterfly with felt and pipe cleaners. It was a quick project for a rainy afternoon, but one that was very enjoyable. We could have made one dozen of them and hung them from the ceiling, but the clouds cleared so only one ended up being created. And here’s how we did it…

Our Supplies
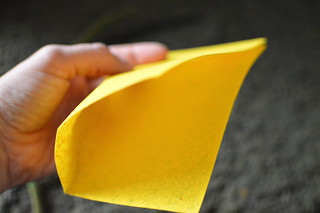
1 piece of bright felt for the butterfly wings.
2 pipe cleaners for the butterfly torso
scissors
pom pom for butterfly head
glue (to attach head and affix loose bits)
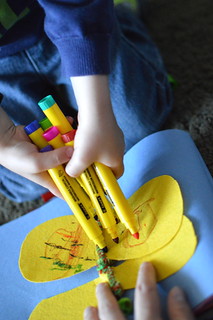
fabric markers (to decorate butterfly wings), optional
Our Process
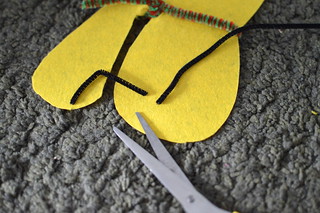
1. We folded the rectangle of felt in half lengthwise.
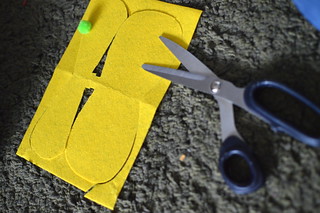
2. We then traced where the wings would be. Then, using the scissors, we cut the wings out of the piece.
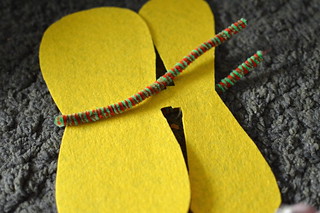
3. We placed the colourful pipe cleaner down the center fold to become the torso of the butterfly.
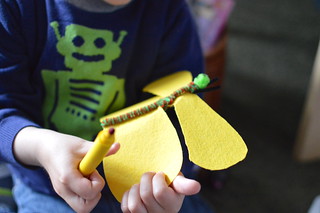
4. We twisted it between the wings and then again at the top where the pom pom head will be glued on in step 5.
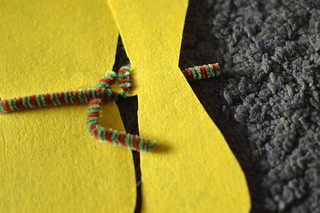
5. Cut the black or solid-colored pipe cleaner to be the antenna. Slide it through the loop of the colourful pipe cleaner then glue the pom pom to both in the placement of a head.
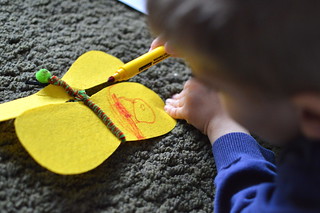
6. Hand your child the fabric markers and let him/her be creative.
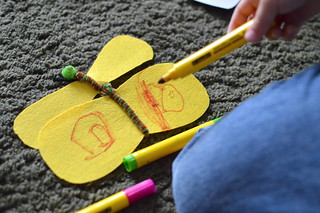
This is a very easy, simple, and fun project for a rainy day.
What color would you choose for your butterfly’s wings?