You know how I visited my parents over the summer and wanted to get lots done in their house? This post is about what I did to their breakfast room! As I’ve mentioned before, my Mom has Multiple Sclerosis and is in a wheelchair. Because she needs medical supplies on-hand, their breakfast room had become more of a supply room. Since the formal dining room is not connected to the kitchen through a wheelchair-accessible doorway, it was just easier for her to sit in her wheelchair and eat in the kitchen or living room for meals. Neither of those rooms have abundant natural light or views of the dogs playing outside, so when I visited them this past summer one of my main goals was to reorganise and decorate the breakfast room to be useable for dining. It was a formidable challenge, especially when I had my son LB who wasn’t even two yet with me almost all the time. But I was determined. Knowing how rewarding it would be to know my Mom was able to feel a bit civilised again to eat at our family table and enjoy the beautiful view from the room’s thy window. So, here’s how I approached redecorating a breakfast room for under $100.
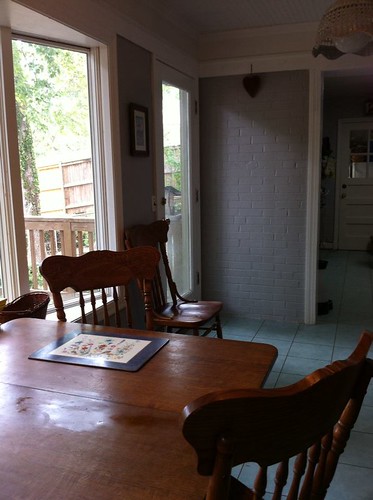
Here is the BEFORE photo of the room. Now, before you look at this next photo, remember that my Mom is retired and in a wheelchair so she can’t keep things in OCD tidiness so don’t go calling Hoarders on them.
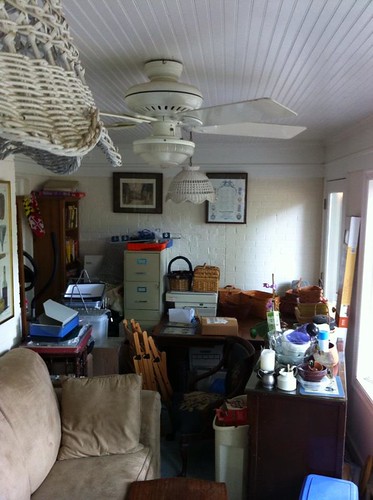
Yes, it was cluttered. The table, which was my great-grandparents, was unusable for dining and the sofa dominated the room in that location. But that was about to change.
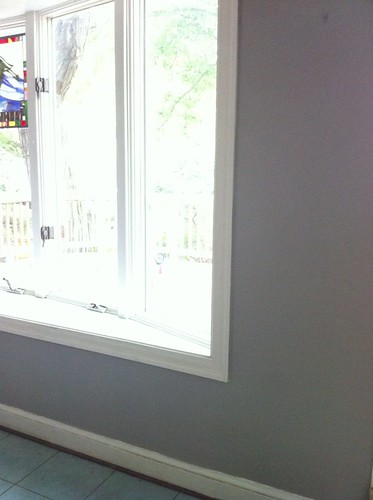
You can see the walls are a pale peachy-beige (Color name: Apple Peel). When we moved into the house about 30 years ago, that room was freshly painted in white semi-gloss so we did nothing until 2001 when I got bored one day and found a gallon of paint leftover from the living room and decided to make that room Apple Peel too. As we learned though, the light shade didn’t accentuate the white beadboard ceiling or moulding and with so much natural light a darker colour would hold up nicely in that space. Also, the Apple Peel I used was eggshell finish and it didn’t do well in a high traffic room. Definitely semi-gloss again for the next paint there.
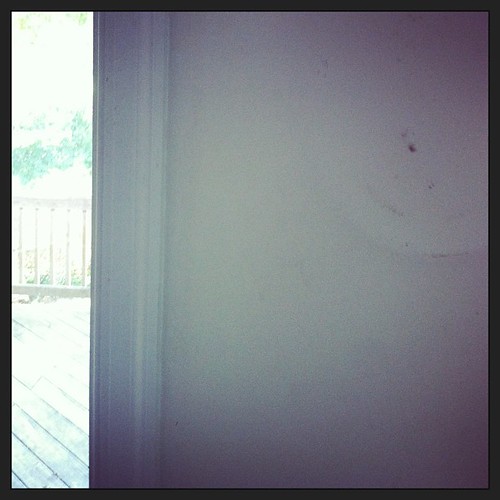
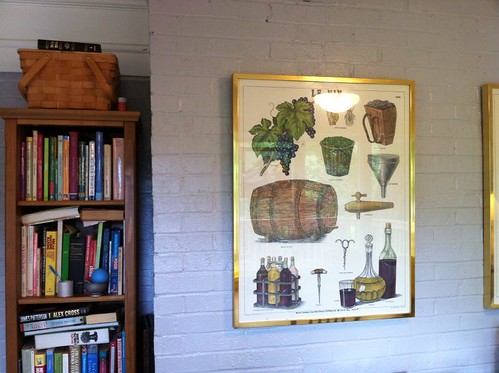
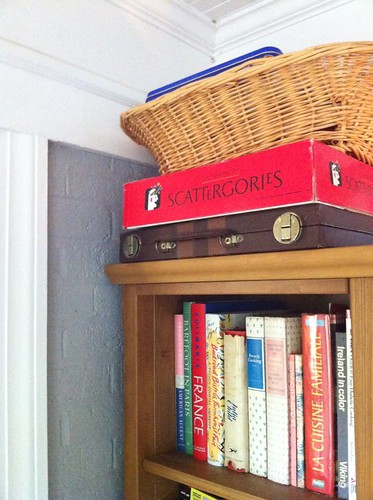
Here are a few close-ups of the Apple Peel walls and once-white trim before being washed and prepared for painting…
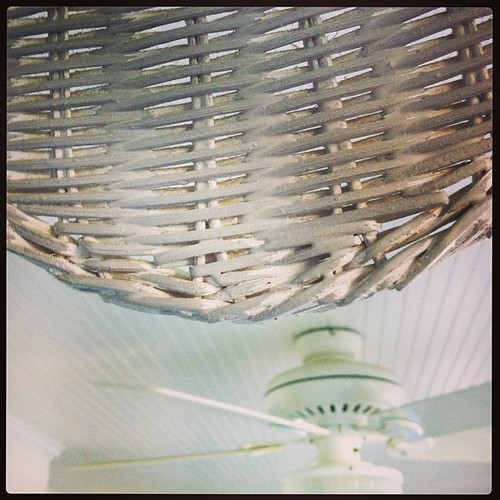
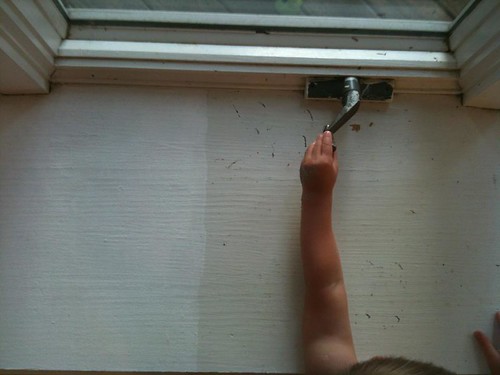
There are also three ceiling lights in this room. My Mom and I went on vacation once and my Dad decided to install two more and, since you never criticise a man doing housework, we have spent a couple decades pretending to love them. But they are too low for my husband to walk under and the white against the white ceiling just doesn’t suit the room.
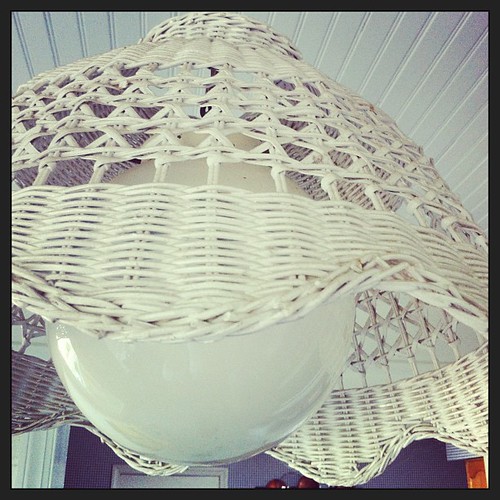
So the first thing I did was actually paint the wicker shades grey.
Oh, let me explain how I arrived at that exact shade of grey. So, the other goal for the visit was to redecorate my Mom’s bathroom. Since she spends most of her time in bed or her wheelchair, the bed’s view is the hall and her bathroom. And the bathroom needed updating. It was a cheerful sky blue with a white seersucker shower curtain. Very happy, but not calming. The vintage tiles were grey but with a touch of green so I matched that to an exact paint colour then went one darker on the colour card for a little contrast. I’m so glad I did too because on the walls it ended up looking like the same colour as the tiles. And since the bathroom needed a half-gallon and the grey was such a lovely-but-not-blah colour, I decided to get two gallons and use it for the breakfast room too. The breakfast room is between a Nile Green living room and a Classic Blue kitchen so having a neutral that wasn’t bland was essential for bridging the two rooms without colour overload. And this was the winner!
Knowing that painting the room would make the biggest impact aside from decluttering it, I moved out everything that wasn’t needed in that room then I moved everything else away from the walls so I can wash, prepare and paint them. In just one sentence I summed up something that took a very long time. With LB trying to “help” and the dogs trying to “supervise” it was a challenge to be speedy. But I got it done in a few hours with my Dad’s help.
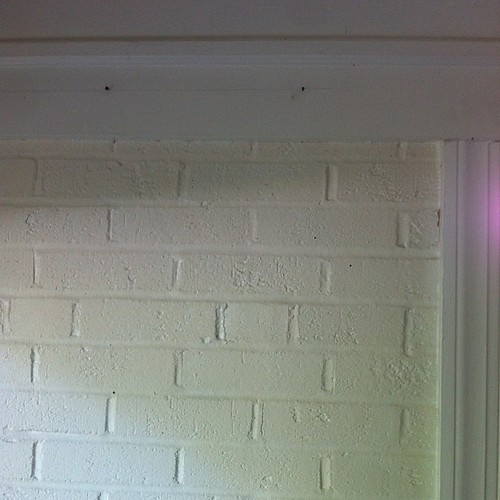
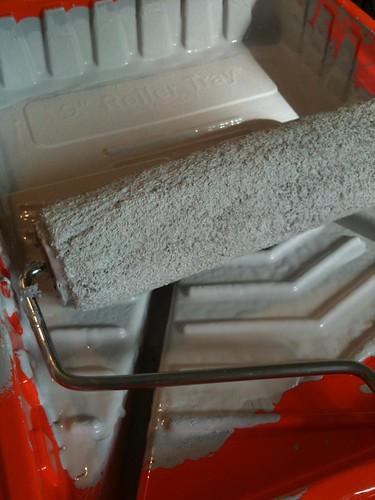
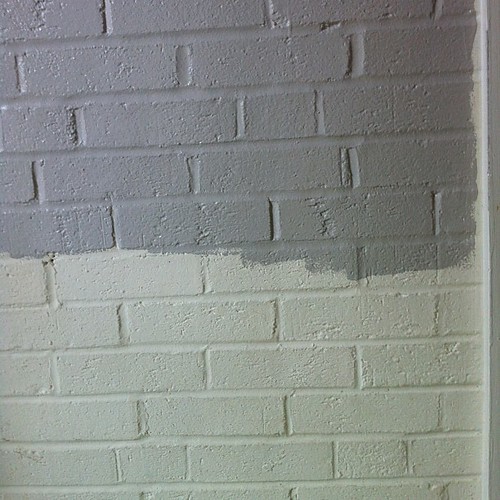
With the room ready, I started on the painting. You can see the new paint on the top and the Apple Peel on the bottom of this wall. The brick rook two coats for good coverage. The original white semi-gloss sealed the bricks nicely so they didn’t drink up the paint like unpainted bricks tend to do. If you’re painting fresh bricks, this is a good post to read on YoungHouseLove.
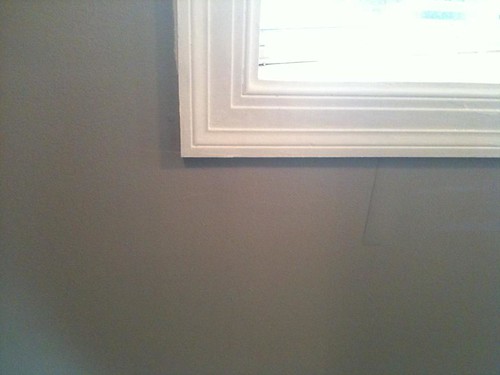
And here is one whole small section completely done. If only this was all I needed to paint. But as I worked on the rest of the room, I regularly looked to this corner to remember my motivation.
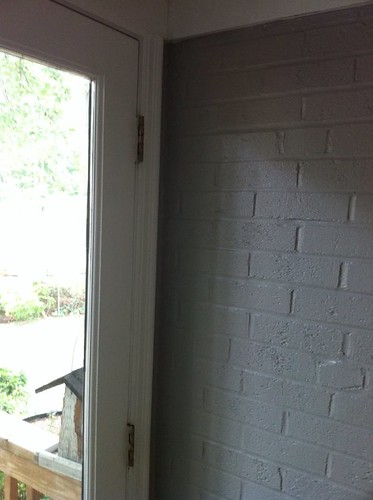
It is amazing what a difference fresh white trim makes to a room!
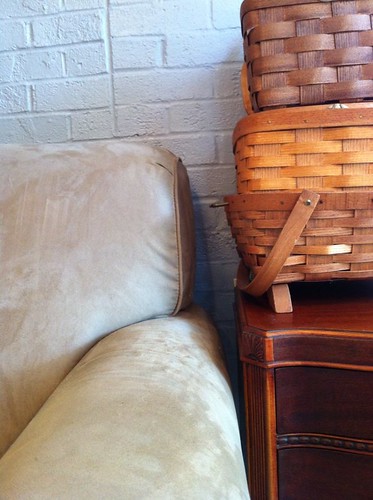
I stayed up most of the night to do the rest so I wouldn’t be distracted. This is what the result was the next day! I love how the grey is neutral but still warm enough to partner with the cappuccino love seat, dark wood furniture and natural woven baskets. And even though it is far from pale, the bright sunlight in this room washes it out so I’m really glad I went with such a deep shade.
Look! It’s a cleared off dining table with a space for her to roll up with her wheelchair!
The biggest savings to this room makeover was that I kept all the original artwork. I really only bought paint! Our neighbour friend custom cut my 10-year-old natural bamboo matchstick blinds (IKEA) to narrow widths perfect for the bay window panes so when the trees lose their leaves in the winter the sun won’t be too harsh for dining here. Since those blinds weren’t being used anyway, that was free!
And for the big BEFORE and AFTER moment…
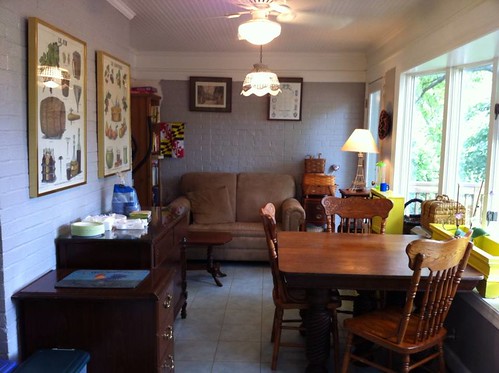
The blinds were not up when I had to fly back to Ireland, but the impact was big enough. Amazing really. The room looks wider! Even with too much furniture for the space, it addresses their medical storage needs while still being a cosy breakfast room with a view. You can see the window box and LB’s play kitchen on the right of this photo.
The final cost of this project was 1 1/2 gallons of grey semi-gloss BEHR paint, yellow spray paint for the window box, and a half-gallon of white trim paint. All came in under $100. You can see that other splash of yellow behind the table is my own childhood kid kitchen that I updated with the same yellow spray paint for my son.