There’s nothing quite like a tasty chutney. Sweet, savoury, or a combination of both, they’re so versatile and truly delicious to eat. On top of that, chutneys are particularly great at Christmas, and make really good presents too. But where did they come from? And how can you make your own? Read on to find out.
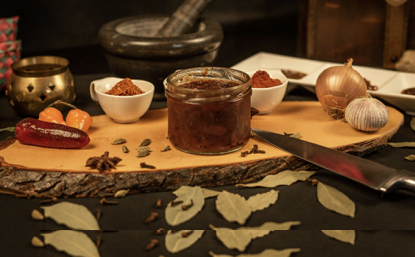
Image: https://pixabay.com/photos/food-kitchen-chutney-spices-3539594/
The History of Chutney
Chutneys, in their various forms, are eaten all over the world, but where did they originate? Well, the origins of chutney have been traced back over 2,000 years to India. It’s believed that they started life as a simple paste made from fresh ingredients; a little different from the preserved version we know and love today. Indian chutneys are still hugely popular (and that’s what I grew up enjoying with my Auntie’s cooking).
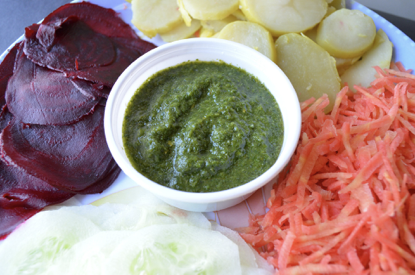
Image: https://pixabay.com/photos/chutney-indian-food-sauce-salad-390299/
In terms of chutney recipes moving west, the Romans loved the chunky sauces, adapted them to the ingredients they had available, and their popularly spread within the Empire.
That’s the backstory of chutney covered, so now let’s look at a chutney recipe for Christmas.
Christmas Chutney Recipe
It doesn’t get more Christmassy than cranberries, and this recipe is perfect to eat with your guests, or to give them as gifts. When it comes to storing, you need to keep chutneys in clean jars – so, after the recipe, we’ll tell you all about sterilising jars in microwave ovens.
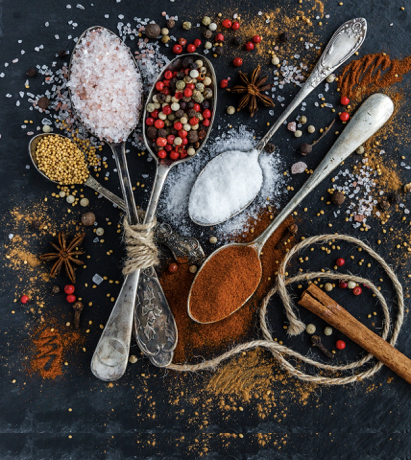
Image: https://pixabay.com/photos/salt-pepper-spoons-spices-1914130/
Ingredients
- 500g cranberries
- 1 onion, finely sliced
- 400g demerara sugar
- 250ml red wine vinegar
- 50g of grated fresh ginger
- 2 cinnamon sticks
- 2 stars anise
- 1 tsp of nutmeg
- 1 tsp salt
Method
- Add all of your ingredients to a pan and cook on a low heat, leaving the cranberries to the side for now.
- Heat for around 45 minutes, stirring occasionally – once the onions are tender and the mixture has thickened you can add the cranberries and cook for a further 10 minutes until they are soft.
- Once you’ve got a really thick and gooey mixture you’ll know that your chutney is finished.
- Take your mixture off the heat and let it cool before pouring into sterilised jars.
Image: https://pixabay.com/photos/jam-jar-christmas-homemade-1106592/
Sterilising jars in microwave ovens
Storing your chutney in sterilised jars not only keeps it safe to eat, it’ll help it last for up to six months. Here’s how:
- Remove the lids – metal lids cannot go in the microwave, so you can either buy new ones or sterilise them in the dishwasher.
- Peel off labels and clean your jar with hot, soapy water.
- Put your jars in the microwave and set if for 45 seconds.
- Turn the jars upside down and place them on kitchen towel to dry.
Now you know about where it came from and how to make your own Christmas chutney. Have fun making it!
Images: www.pixabay.com