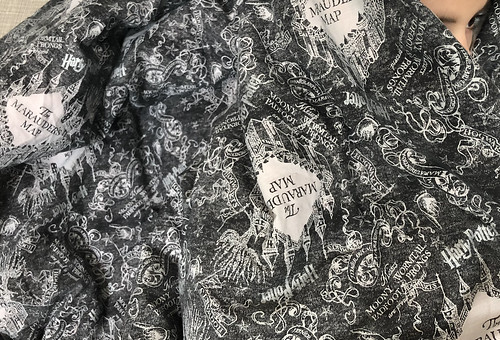
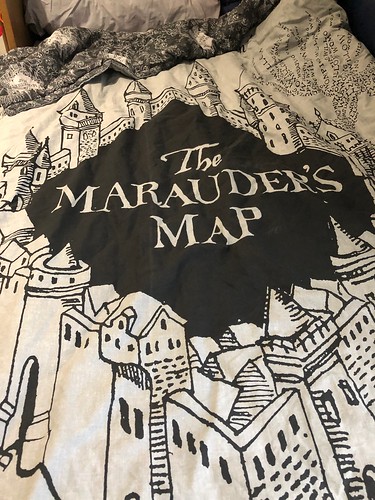
In Spring 2017, I saw the cutest single duvet cover at Penneys/Primark and got it into my head to use it to sew a light comforter for movie nights on the sofa at home. And a mere 18 months later, I finished it. What can I say, some projects just take a long time because other things take precedence. But to celebrate its completion, I wanted to share a little post about how to turn a single duvet cover into a light comforter of your very own.
For Managing Chill, Not Mischief
Before jumping into this project, I’ll admit I love Harry Potter. Aside from the writing and the rich character development, it has a special meaning to me. I won’t go into it in too much detail, but September 11, 2001 was a difficult one for me. Not as difficult as it could have been, but still. For the months that followed, I had no interest in travel and my usual hobbies. My mother gave me the first four books in the Harry Potter series and on the many sleepless nights, I read them. It helped me escape from things just enough to feel like I could handle travel again. So, when I see Harry Potter things, I not only remember the strong characters and dynamic storylines, but I also remember that the story encourages strength within each of us. It isn’t the same as my collections of garden gnomes, bees, or crabs – it has its own special place in my heart. Perhaps that’s another reason why I love Edinburgh so much.
Materials
I bought one duvet cover for €15-ish at Penneys in Cork City. I had poly-blend batting handy. I used whatever thread I had handy to keep the project on a budget and because no one in my home notices what thread I use. I also needed a strong sewing machine and a lot of pins.

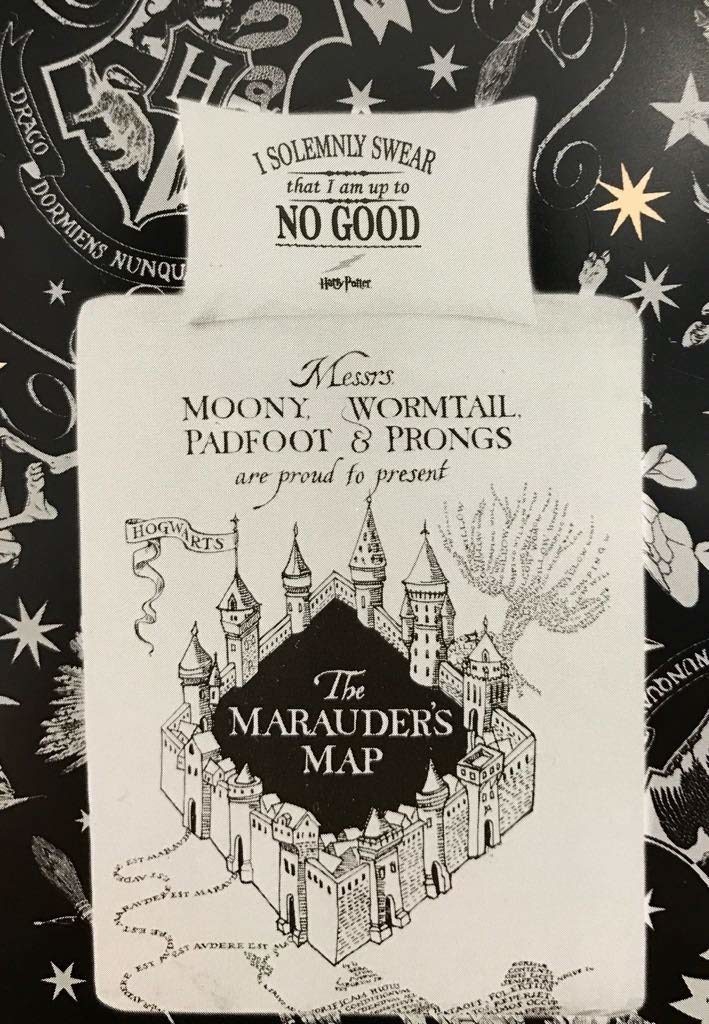
Process
Everything was pre-washed to start.
First, I sewed the batting to a thin piece of poly-blend fabric to keep it from shifting within the duvet cover later. I do not have a long-arm quilting machine, which made this more challenging than expected. But I anticipated this, which is why the batting was secured to a separate inner fabric, we’ll call that the ‘filling’ for simplicity.
I placed the filling inside the duvet cover as I would a duvet itself. I then pinned it into place around the edges and in the corners.
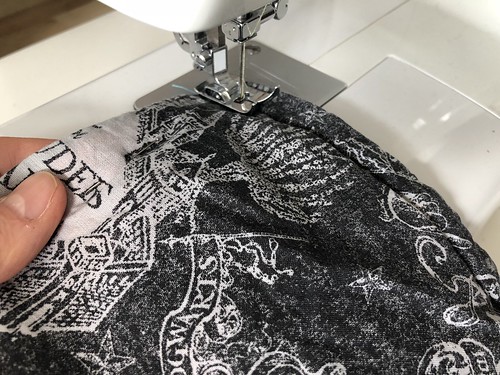
Sewing started with the furtherest top edge first because as I worked down toward the bottom (and the snapped closure edge), there may be minuscule shifting or straightening of the filling and starting at the top means spare fabric ends up at the bottom where I can easily trim it to fit perfectly before sewing up the bottom. Wow, that was quite a run-on sentence.
For the final edge, I sewed a straight stitch along the bottom above the snaps. For some, you could trim that edge off and do a binding around all edges, but until I find the right one (like gold), I’m not interested in taking that step. Because of my sewing machine limitations, I could only sew the edges.
Results
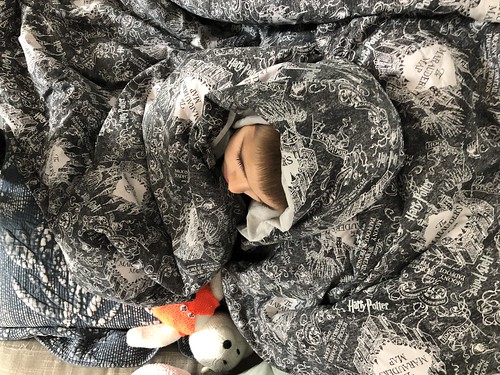
After completion, I washed it again because it had been in the works for 18 months and I love the scent of fresh laundry. Then I rented a movie on iTunes to test it out with the kids. They approved and sideways, we all fit under it for a warm and cosy movie night. I suspect it works equally well with TV binge watching, knitting, and naps. Don’t worry, I’ll test it out.
In time, I think I will add some hand-stitched tufts at intervals throughout the comforter to add texture and filling stability, but for now it is perfect and does exactly what we need. And, honestly, after so long seeing it in my projects basket, I just want to use it!
Update
LB has taken it for his own bed.

