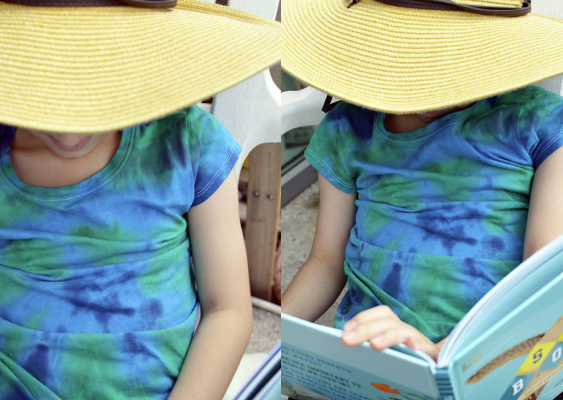
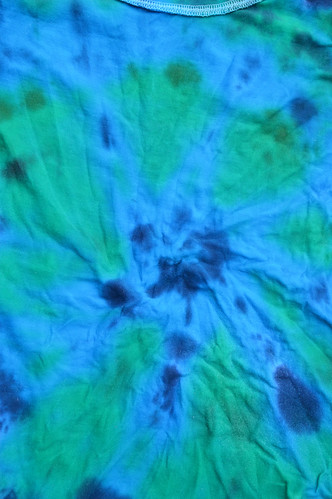
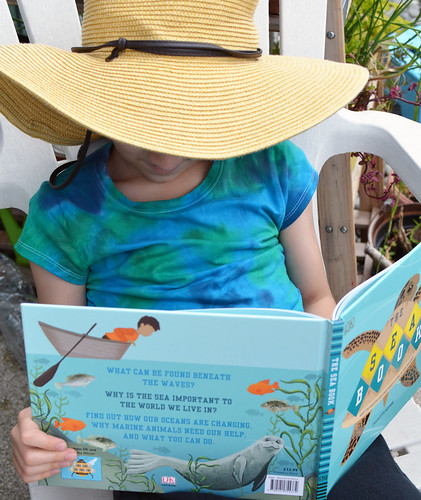
I’m always looking for ways to upcycle old clothes, and tie-dye is the perfect way to bring a new, colourful lease of life to an unworn T-shirt. It’s a fun activity to do with kids too, so it’s a great way to spend an afternoon during the long summer at home we have stretching out ahead of us. Here is a simple tutorial to tie-dye your own clothes.

Supplies:
You don’t need much to make the tie-dye T-shirts themselves:
- T-shirts (ideally 100 per cent cotton, plain, and white or light-coloured)
- Fabric dyes and paintbrushes or a tie-dye kit (kits typically come with dye in squeezy bottles with narrow nozzles, so you apply them straight from the bottle)
- Rubber bands (to tie around your T-shirts – this is what creates the tie-dye patterns)
- Water (to mix with the fabric dye)
- Plastic bags (for the dyed T-shirts to set in)
You’ll need a few extra things to help protect your skin/clothes/work surfaces:
- Aprons or old clothes (wear something you don’t mind getting messy)
- Newspaper or plastic sheets (to protect your table)
- Rubber gloves (so your hands don’t get covered in dye)
Instructions:
- Start off by washing the T-shirt with laundry detergent and fabric perfume conditioner to remove any stains (on old T-shirts) or any chemicals (on new T-shirts).
- The fabric dye instructions will explain how to make up the dye – you’ll probably find you need to mix it with water.
- Some dyes require the fabric to be dry, while some need the fabric to be wet, so double-check the instructions and prep your T-shirt accordingly.
- Use rubber bands to hold your T-shirts in interesting shapes – twist them, fold them, scrunch them, spiral them – whatever you fancy in. Make sure the bands are very tightly wrapped around the T-shirts.
- Put on your rubber gloves. Then, using either your paintbrushes or squeezy bottles, apply fabric dye onto the T-shirts, working it right into the nooks, crannies and creases. Place different colours in different areas, or stick with one colour.
- Place each T-shirt in its own plastic bag while the dye sets.
- After 24 hours, pop your rubber gloves back on and rinse your T-shirts with cold water in the sink or under the shower – try to remove as much fabric dye as possible. Keep going until the water runs clear.
- Then carefully remove the rubber bands by cutting them off.
- Open up your T-shirts and rinse again in cold water, until it runs clear.
- To set the dye in place, you’ll then need to wash your T-shirt in the washing machine at a particular temperature (the instructions will direct you). More fabric dye will come out, so make sure you wash the T-shirt on its own!
Tie-dye T-shirt maintenance:
It’s important to wash home-dyed clothes on their own for the first few washes, in case any more dye leaks out. To help your tie-dye creation stay bright and colourful for as long as possible, wash it on a low temperature moving forwards. Use gentle laundry detergents and fabric perfume conditioners that are designed for coloured clothes, not whites.

Now you know how to upcycle an old T-shirt and bring a burst of colour to your wardrobe. Have fun with your tie-dye projects this summer. And if you want to dye yarn with Kool-Aid, I have a separate post all about that!


