Yesterday, LB and I had a morning craft adventure! After glaring at our bland beige blackout shade curtains (in the living room) for far too long, I decided a change was needed. Covering them in a sheer yet elegant fabric was my first choice, until I priced it. YIKES! It is a large window so that was prohibitively expensive. Then I saw some lovely ideas on Pinterest to paint existing beige/white curtains. Hmmm, so crazy it just might work. I was inspired by a paint roller I saw in Amsterdam a couple years ago and thought I’d just whip up my own version with a custom shape or two. I took out one of LB’s shape books and let him choose what dominate shape we’d use for the design. He chose the triangle. Then we set off to the discount store nearby to search for supplies. He was all about pulling the basket himself.
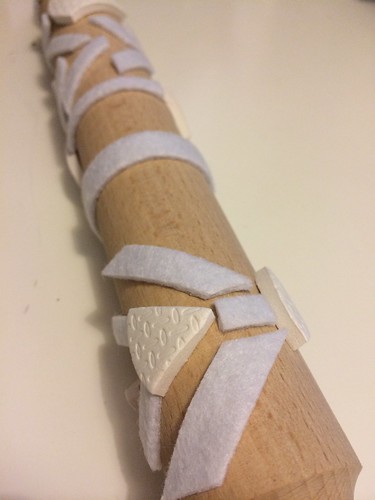
I chose a set of felt and rubber furniture leg tips for my stamp material. You know, the kind you put on to keep chair legs from scratching your floors. My thought was to cut them to the shape I wanted. There was even a large flat piece so I was thrilled to be able to make a line or two. I didn’t really have a design planned or sketched out, though that would be useful. I just cut shapes and jumped in. The result had some chevron/herringbone elements and arrows and triangles.
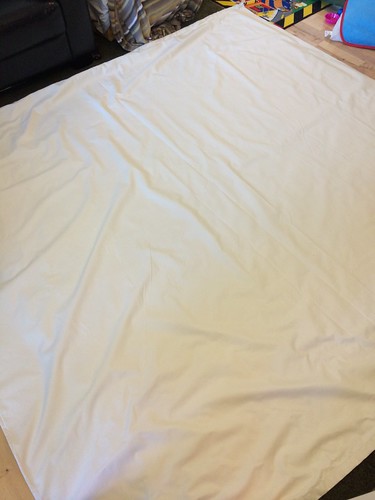
I set each of the beige curtains on the living room floor to paint. Amazingly, LB was very good about walking around them.
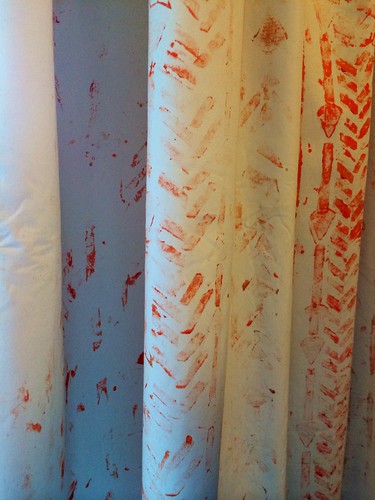
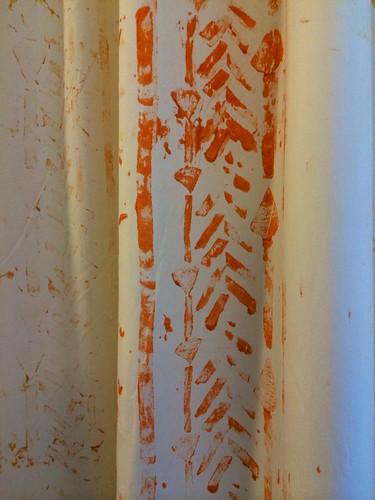
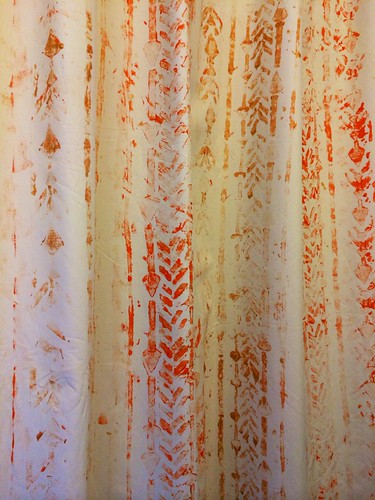
I alternated gold then orange for a little variation in colours. Direction of the design also alternated. In hindsight, I placed the elements too close together on the roller so there was muddling of the design with paint pooling when I rolled it out. Good to know for next time.
Not too “in your face” and definitely a bit like tire tracks in clay. But seriously wouldn’t that have been so much easier?! To just drive a tire through paint then over the curtain?! Why didn’t I think of that?
After I used the homemade stamp roller to make my design stripes (vertically), I let LB loose with a paintbrush and the remaining orange and gold paint. He added little brush strokes and touches wherever he wanted for about 20 minutes then he made a noise that sounded like he was pleased with his work. This was repeated on the second curtain though he spent less time on that since I think he had his fill of self-expression with paint on the first one. Note the bus in his other hand. He is so skilled to be able to hold a favourite toy while creating a masterpiece.
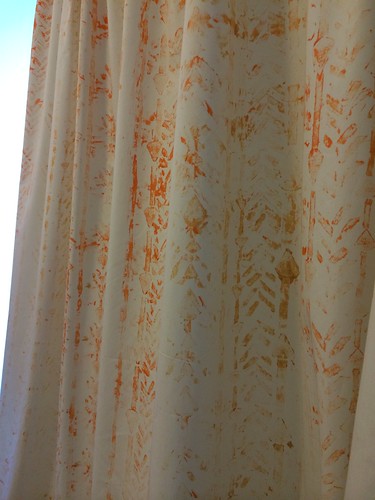
The result was a lovely early-century folk-art hombre stamping design with a definite toddler feel. I definitely love it more than the plain beige so that’s an improvement. And we had fun doing it together which is the best part. Not perfect by any standard. Though I kinda think that’s what makes it perfect.
This photo below is more true to colour and intensity of the paint. Ignore the clutter under the sofa. Everyone has that secret shame spot someplace in their home, right?
The rolling pin cost €1.49. The felt/rubber bits I cut up cost €1.49. The gold paint was €2.99. The orange paint was €2.99. I used less than half of each paint tube. I kinda want to add some pink stars.
What spontaneous and messy things have you done lately?


