Until you burp a baby regularly, I don’t think the concept of a good burp cloth even enters into your mind. At least it didn’t with me. Then I visited my nephews and was exposed to the strengths and pitfalls of bibs, burp cloths, and baby accoutrements. I was left wondering how to make burp cloths more fun. I mean, here is something which has its main destiny to collect baby spit up and slobber, thereby protecting the caregiver’s shoulder. Fellow fabrics may be lounging on the Riviera swaddling celebrities, but this particular terry cloth ends up seeing a rejected portion of an infant’s recent meal. But there’s no reason it can’t look good while fulfilling that purpose! Not to mention the stain-disguising power of print fabrics.
I looked on Pinterest and found a few inspirational images for my Ten Fingers Ten Toes board that linked to a simple yet detailed tutorial on Made by Rae. Perfect! Next step was sourcing the fabric.
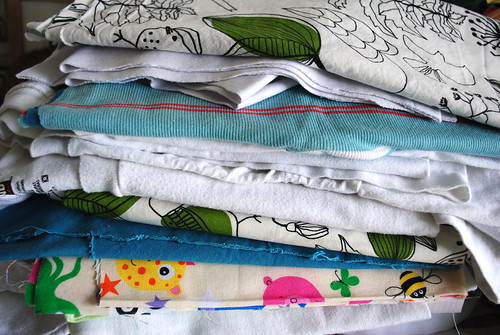
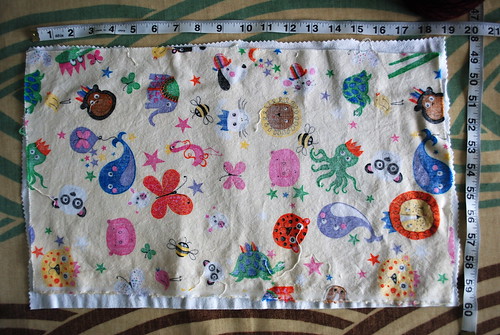
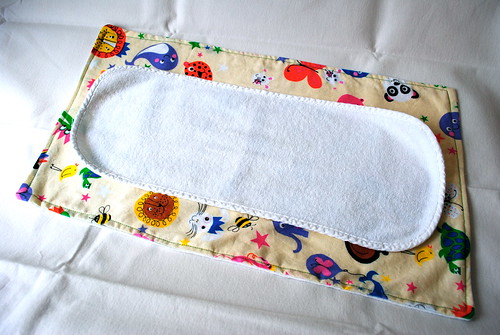
For this project and many things I create, my first choice is to use materials I already have or upcycle something that has fallen into disuse for one reason or another. Giving an existing item new life can be such fun and really be a great way to challenge my crafty resourcefulness. As luck would have it, my husband was parting with a few old but clean white men’s undershirts. Kirkland brand in XL gives plenty of raw material with careful cutting (enough for four ample burp cloths). I also had an old hand-me-down striped ribbed tank top, a swapped pair of chino-style pants, and a half-meter of leftover fabric from making toss pillows (IKEA CECILIA at €3.59/meter). I admit, I also bought a 1/2-yard of a new print fabric (€6.99/yard) for some variety. The print with all the animals is the new fabric.
I followed Made by Rae’s burp cloth tutorial. The fact that she suggested a range of sizes ideal for the project, which was helpful as I was working with existing fabric lengths in some cases so the tutorial was forgiving of such limitations. All fabrics used were pre-washed and tumbled dry on normal heat (and, therefore, pre-shrunk) then cut to the right size. I put the two pretty sides facing one another and pinned a three-inch opening in the center of one end as advised in the tutorial then sewed all around (except the opening) inside out. Then turned the fabric right-side-out and sewed the edges as described in Made by Rae’s tutorial.
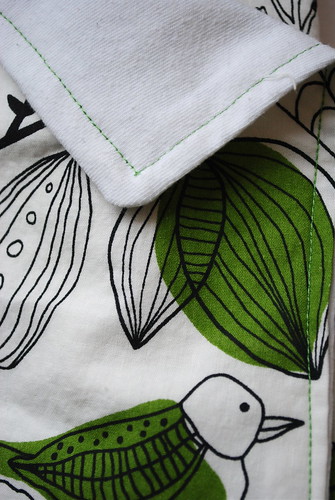
For sewing the outside edges, I chose to use a non-blending thread for the seams for a little punch of color. I went with aqua and green threads as those are gender neutral and soothing.
The final burp cloths vary in size just because of the fabric remnants I was working with, but all are at least 50% wider than store-bought basic burp cloths. I aimed for 19″ x 11″ when the fabric allowed. This size is nice for multi-purpose clean-up use as well. What uses have you found for burp cloths once your infant outgrows being burped?
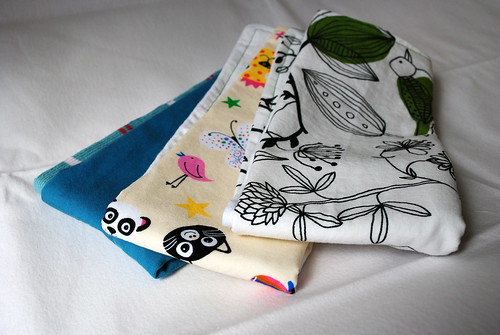
This project turned out so well! I love that the edges do not have to be angled to scientific perfection. Needless to say, I will be making more of these – about a dozen more! Who knows, handmade burp cloths may become my new favorite baby gift to give (instead of handknit baby blankets or hats). Here are the first three [of many] done.
The total cost for the materials to make 12-16 burp cloths is:
€6.30
That amount includes:
€3.50 for new fabric,
€1.80 for leftover IKEA fabric, plus
€1.00 estimated for the thread, which I already had on-hand and will not use whole spools of.
€0.00 for the swap and hand-me-down materials used. That is what makes the biggest difference with this project since the jersey was free as was the teal fabric. If I run out of woven fabric before I work through the jersey, I may attack an old men’s dress shirt I noticed in the give-away pile this weekend. Hmm, the possibilities are endless.


Like the modern design.
Just in time. I have a baby shower May 5 so I’m hedaing out to buy some diapers today. Thanks for the link to Planet Applique. Thanks for the tut! Your burp cloths are absolutely darling!
Perfect!