It started with an idea for LB’s second birthday which grew to a collaboration and, finally, a creation. I wanted to make my son a play kitchen. The timeline was moved up just after his first birthday when I learned I needed major surgery. The doctor allowed us a few months delay until my son started walking (less picking him up) and to get our home in order and line up childcare for my recovery.
My first thought was that LB loves to play and focus on his little projects, so one of the best things to do to prepare for my surgery was to create something that would occupy him so he wouldn’t miss me as much, but also something that would grow with him in the long-term. I talked with my friend Victor and we set a plan.
Warning: THIS POST CONTAINS A LOT OF PHOTOS. Nearly every step of the process is documented here albeit vaguely. So, there are many photos plus several of the final result in action.
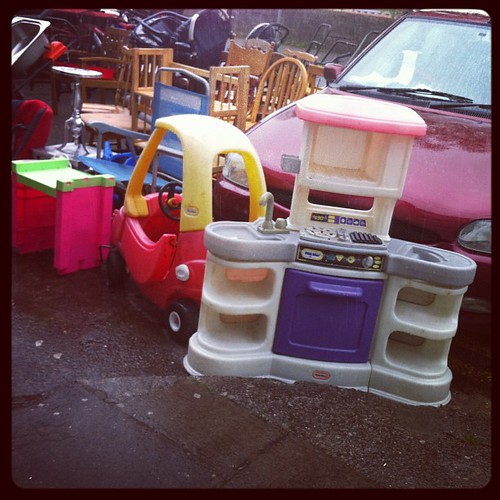
To prepare for the project, I browsed dozens of images on Pinterest and added many to my Ten Fingers Ten Toes Pinterest board and my Play Kitchen and Food Pinterest board. But ultimately, it was our ideas that led the creation of LB’s play kitchen. But research helped me narrow down what elements were essential in my project and which features didn’t matter to me. For instance, I didn’t want a microwave and didn’t care if the oven door opened down (versus from the side). However, I wanted brushed chrome accents and once I saw the subway tile at the hardware store there was no tearing me away from that idea. And along the way, I’d see manufactured children’s play kitchens to admire and learn from. Seeing this one made me 100% certain I did not want plastic and I really wanted it to have a low centre of gravity.
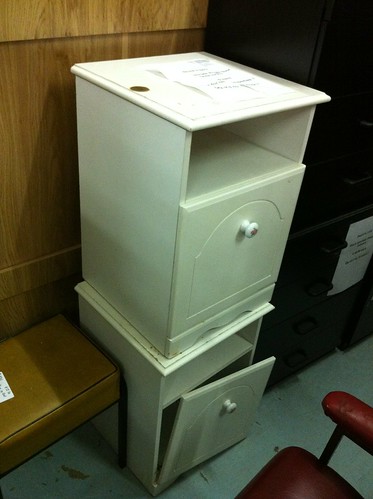
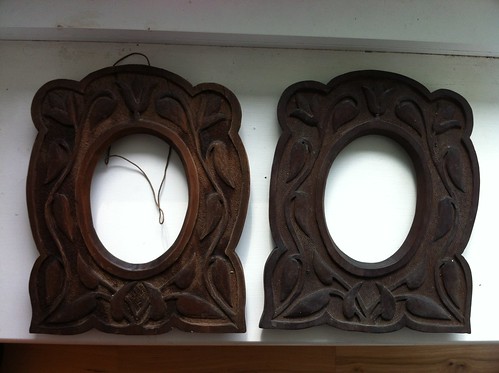
The first step in the project was sourcing the frame. We decided to work with an existing piece of furniture and modify it so we visited second-hand stores and anywhere else to look for the right piece.
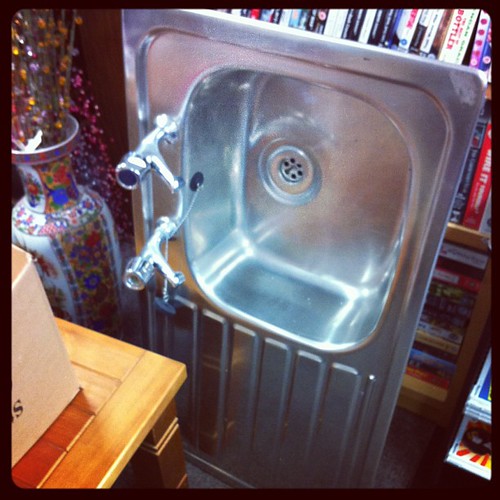
For about a minute I really wanted to buy this real full-sized kitchen sink to use as the top, but that meant sourcing the exact right size cabinet for underneath and hoping all that wouldn’t look oversized as a child’s play kitchen in the corner of our own kitchen (or eventually living room).
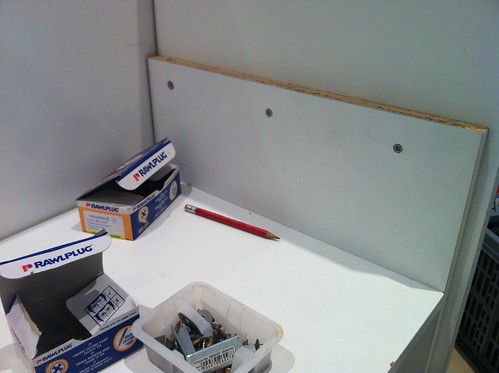
We ended up finding not one but two pieces at the second-hand furniture shop in the Cork Marina complex. €15 per bedside cabinet so €30 for the frame of the kitchen. They had seen better days.
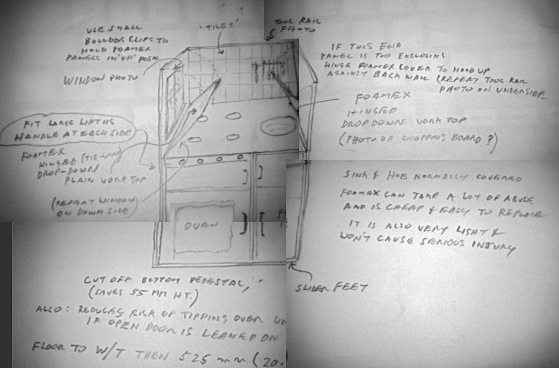
Victor drew up plans based on discussions we had, LB’s tendencies to climb, and my Pinterest favourites. The decorative trim was to be taken off the bottom so it would rest flat on the floor (no mystery items to be hidden under there!). The knobs on the front would come off and be filled in and sanded down. There were changes to be made to the height, top surface, and height of the shelves, not to mention joining the two cabinets side-by-side so they would be sturdy enough to withstand a climbing toddler (I live in the real world, I knew that would happen eventually and it did and it was strong so he was fine).

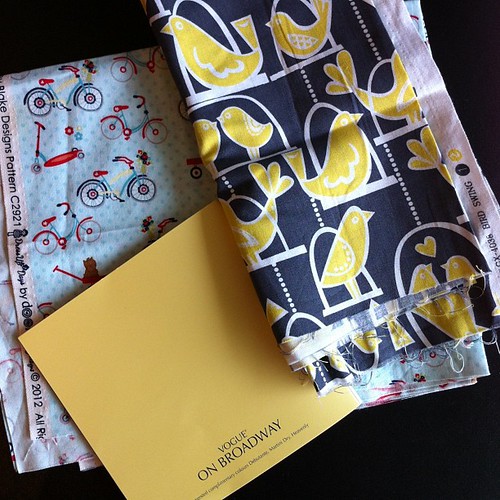
I chose a cheerful buttery yellow, charcoal grey, and sea glass blue for the cabinets, window frame, and accents. I chose Vogue Paints, a seemingly Irish company, and its On Broadway hue. It was between that or Monte Carlo. I may change my mind later and spruce it up with a deeper colour, but we loved how the yellow was bright without being babyish.
Then I realised fabric and children results in laundry so I stuck to just paint. In the end, we made something that I could wipe down with a dishtowel and warm water.
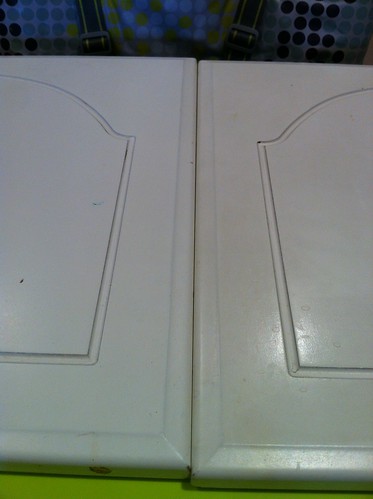
Before painting anything, there was cleaning to be done. The four items being painted were the two cabinet doors and the two wood frames (the windows). The cabinet doors had spent a bit of time who knows where so I cleaned them with extreme determination. You can see it was worth it. Can you tell which was cleaned and which wasn’t?
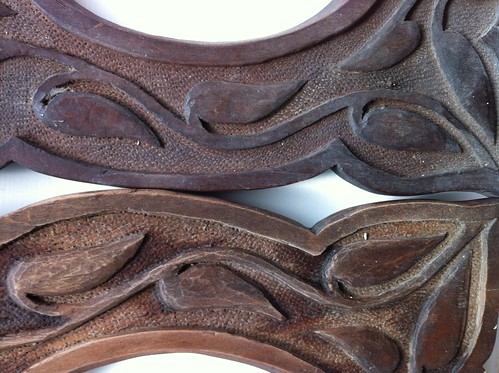
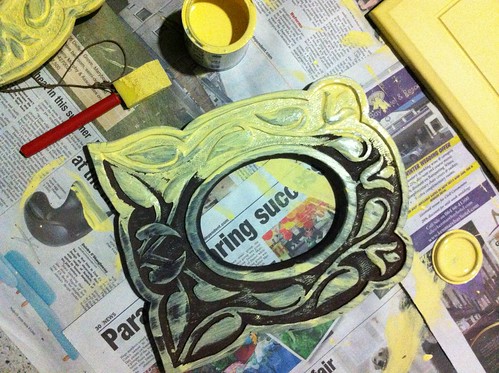
The two window frames were harder to paint. I love the beauty of natural wood so it was a challenge to put my brush to these handmade frames. It still pains me, but the wood wasn’t in good shape.
Here is a side-by-side comparison of cleaned and not cleaned.
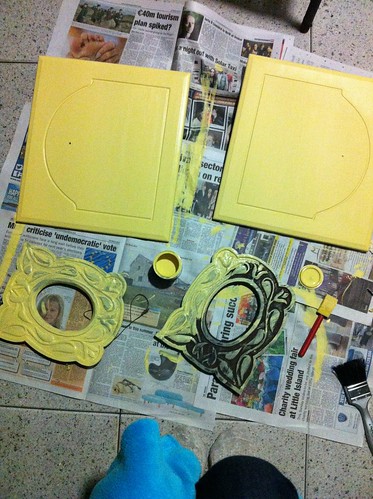
I painted the cabinet doors at the same time since I was using the same yellow paint.
That’s a very classy fleece bathrobe photobomb going on here.
The frames took three coats of paint!
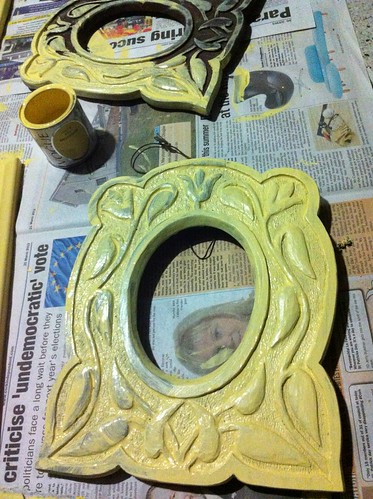
Look! All painted! Not assembled, but one step closer.
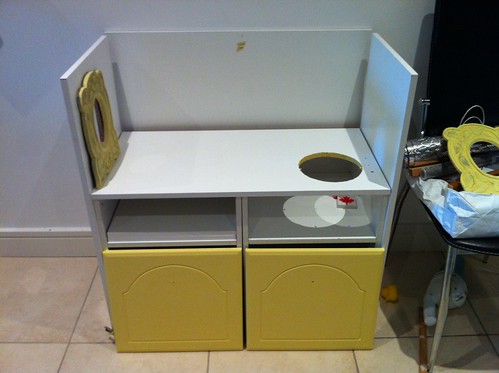
We still needed to add the new handles and close up the holes from before. I also wanted to add a custom-cut chalkboard inset to the oven door (left) to appear like an oven door would. I still haven’t done that!
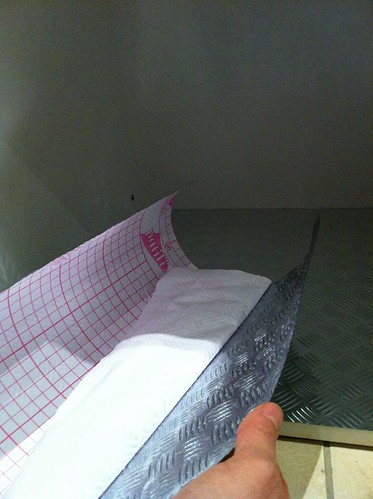
While the paint dried, I decided to apply the stainless steel contact paper to the inside of the oven. The battery-powerered LED light on the top of the oven reflects the light nicely. Of course, it only lasted a day so no photos. Turns out those are very fragile.
So, in goes the oven lining. It was good to work with because it had added thickness to usual contact paper. Once I got the hang of it, I flew. The key was using the right paper orientation to maximise what came in one package. It was too pricey to buy a second package so I did the top of the oven last just in case there wasn’t enough since at that height few people would ever see the top of the oven.
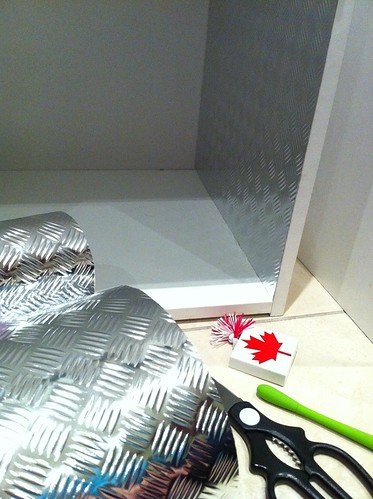
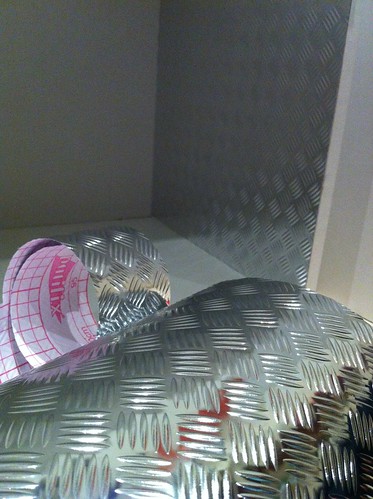
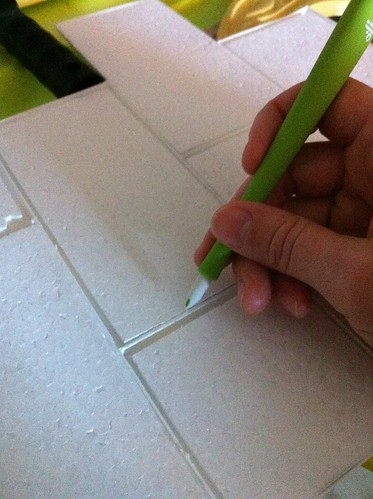
Once the construction and painting work was done, I felt confident in applying the subway tile. I chose stick-on insulated plastic tile. Each tile has a section of styrofoam inside it for shape and insulation. This is meant for laundry room areas or little bars in homes so I knew it could stand up to a kid (it has stood up to LB for almost two years now).
First, I placed the sheets up with masking tape to see how they’d look. The seams annoyed me. I wanted the tiles staggered properly. I knew anything short of that would bother me each time I saw it.
I used an artist cutting tool to cut the tiles so though it was pieced on in sheets, I applied them in a staggered manner so the repeats would not have a straight seam.
Then I adhered the tile to the backsplash walls with very strong and well-placed double-sided tape. Usually a specific sheet of glue paper is needed in home applications, but I went with this double-sided foam tape.
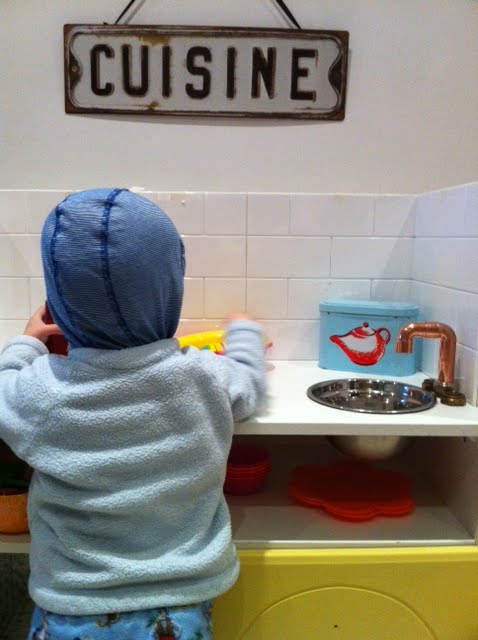
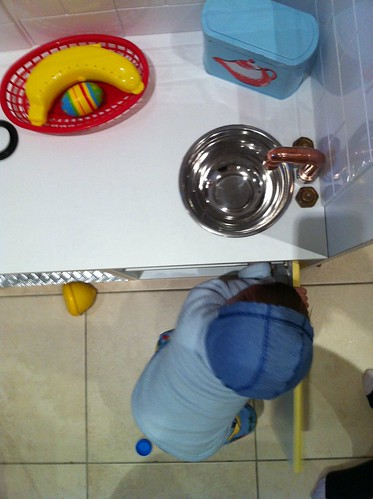
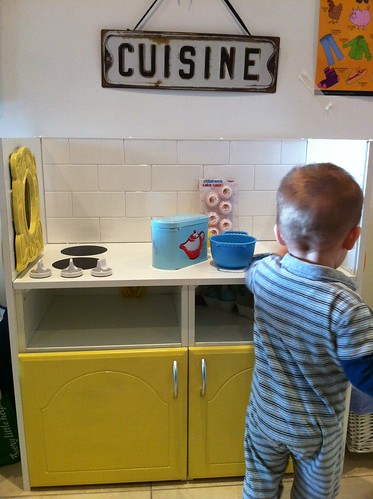
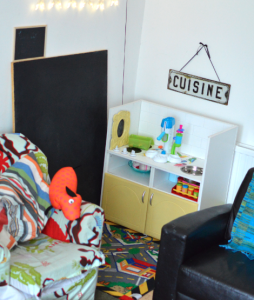
At this point, the tile was up, the window was sorted, even part of the chrome and copper sink was installed (scrap metal and a dog water bowl for the sink), and the refrigerator/cupboard door was on, but the oven door was not yet on as it needed a new hinge. The cuisine sign was a bargain clearance item at Meadows & Byrne. You can see the previous knob hole has been filled in by now, but still no oven knobs. Also, the tracks had not yet been installed to hold the oven shelf up. The oven shelf was a carefully bent-to-fit cooling tray.

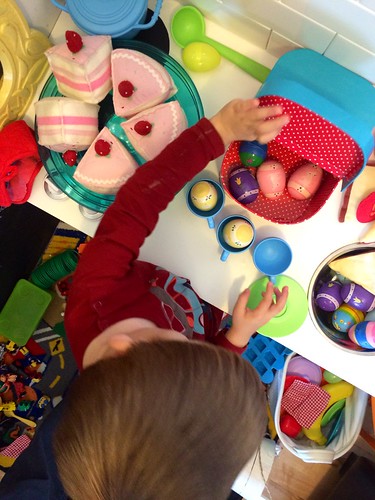
That didn’t hinder LB at all. He was ready to cook! Here’s a better view of the sink.
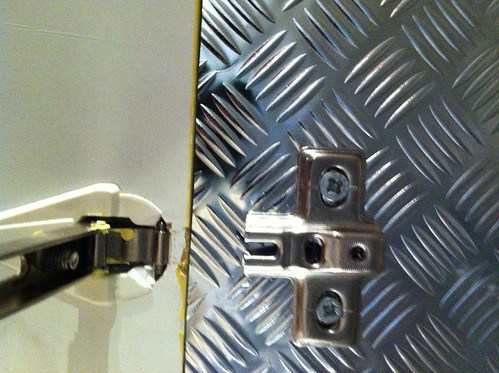
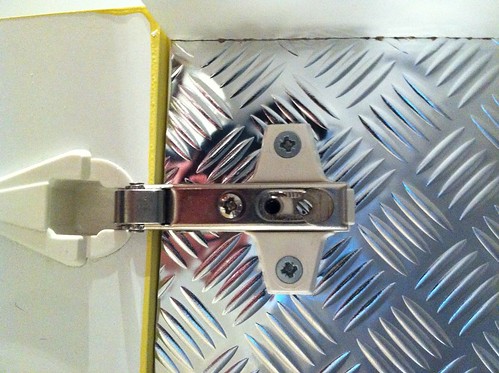
We added new hinges to the inside of each door. Waiting on the oven-side until after the chrome contact paper was applied. While I did this, Victor installed the chrome-like handles to the doors.
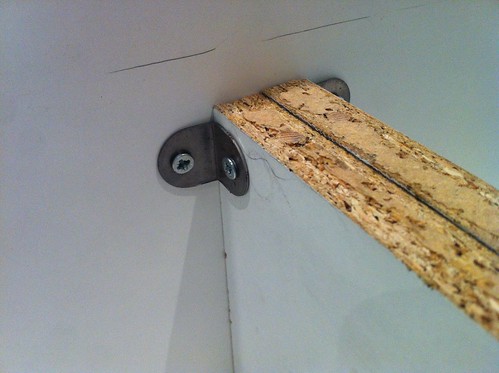
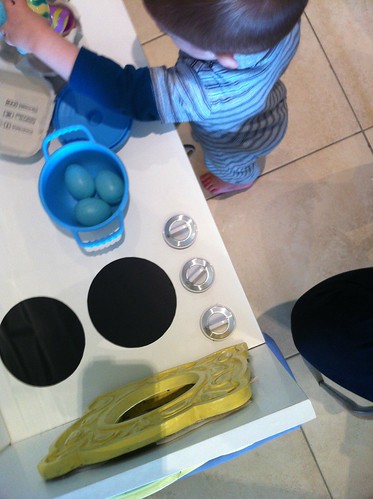
Then the shelf supports were installed.

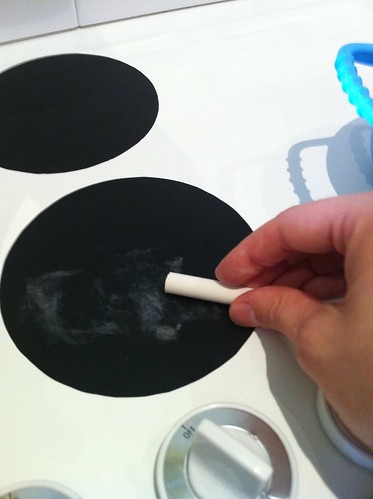
The final touch was to rub the side of a piece of a chalk over each of the chalkboard burners (last step on this website) so they would be ready to draw on or whatever. By now, my Dad had arrived with replacement real oven knobs from the States and Victor drilled three holes and put the knobs on bolts so they could turn. If only they made a clicking noise too. But that would have driven me crazy over time so we made them silent. I’ll hopefully add a list of all the supplies at the bottom of this post in case you’re looking for affordable yet durable oven knobs for your own play kitchen project.
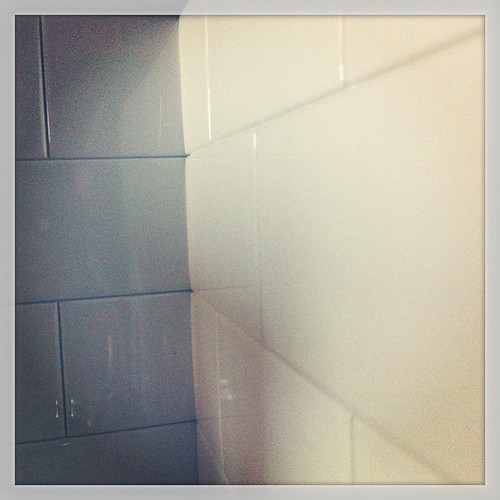
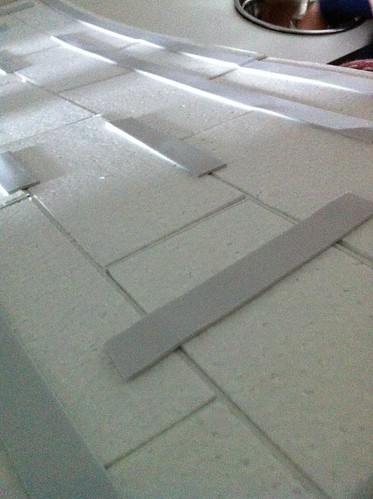
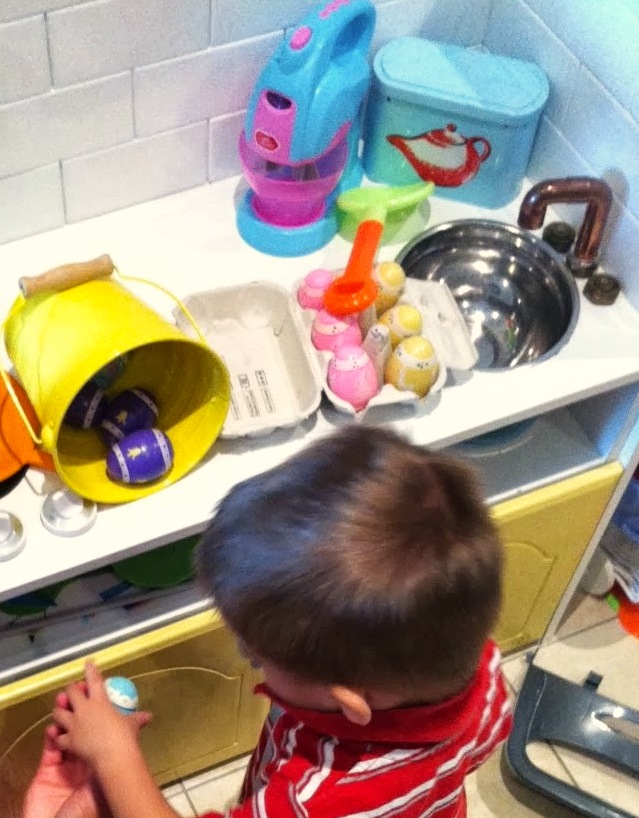
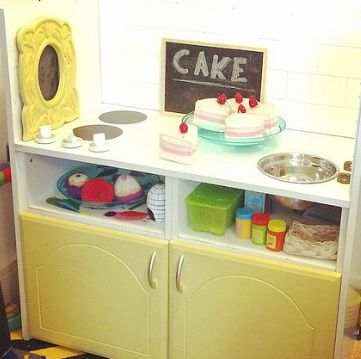
Of course, once it was done, LB dove right in and has been cooking cakes and making tea ever since. By this point, we removed the tile on the left side because it interfered with the window frame resting flat. I actually like that it is varied and not just all subway tile. It makes the subway tile feel more precious. And this shot shows how worthwhile it was to hand cut the sheets to stagger nicely. You can see we also tacked on a thin strip of protective plastic edging all around the top edge and sink-side front edge of the frame to hold down the edges of the subway tile sheets.
This is the best view of the sink actually. And, yes, LB is cooking with a sand shovel.
And a final before and after:
BEFORE
AFTER
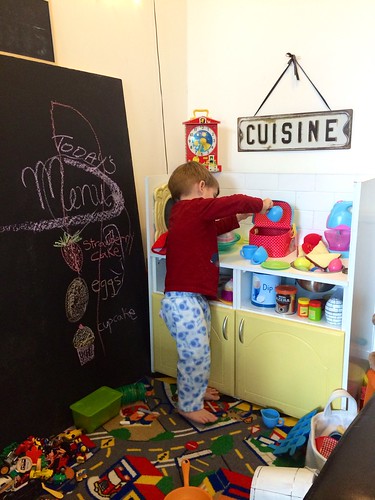
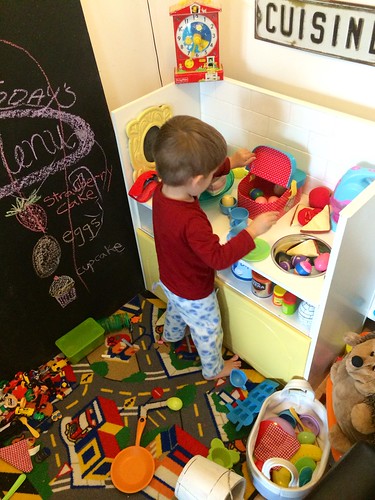
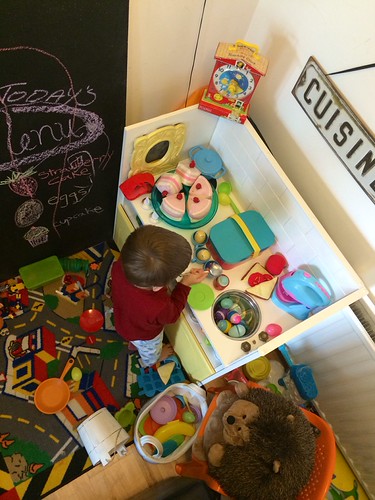
Sigh. And this makes it all worthwhile because it isn’t just a dust collector in the corner but a hotbed of imaginary cooking adventures! It is beside a homemade up cycled gigantic chalkboard for the daily menu to be noted. It holds all Play-Dough and pretend cooking toys, while all other toys are in LB’s bedroom. But since cooking is a social thing in our home, it made sense to keep the kitchen in the thick of it. There is a cabinet with some play food in his room too, but that is more of an imaginary snack bar.
Mr. Hedgehog patiently awaits his cup of tea.
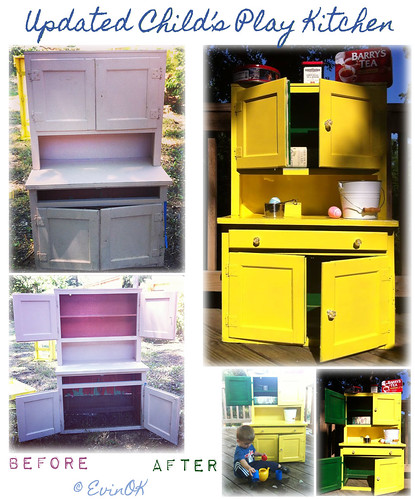
Six months after this was built, we visited my parents and revitalised my own childhood play kitchen, which was just a hutch. I don’t love the colours I chose but LB chose them and the green we had handy. You can read all about that one here. And a quick photo since you’re here.
Ok, big list of all the random things that went into the play kitchen project.
Con-Tact Brand Self-Adhesive Chalkboard Liner, 18-Inch by 6-Feet
Multipurpose Shelf Liner, Faux Stainless, 18″x 6′
Bergan Stainless Steel Standard Bowl, 2-Cup
Lux Replacement Top Burner Knobs Universal – Gas Ranges Black Card Of 4
Range Kleen 8234 Replacement Gas Range Knob Kit
Update International PG810 Rectangular Chrome Plated Wire Pan Grate, Half, 8-1/2-Inch
Pair Cabinet Drawer Door Metal Pull Handles Silver Tone 5″
So many sink options that were not there two years ago when we first imagined this project. Wow!
Lavatory Bathroom 1/4 Turn Handle Brass Short Basin Sink Faucet Tap
Pfister G171-4000 Pfirst Series Two Metal Handle 2-Hole Lead Free Bar/Prep Faucet, Polished Chrome
Ultra UF08042C Two-Handle Chrome Non-Metallic Series Lavatory Faucet
Hardware House 122009 2-Handle Non-Metallic Kitchen Faucet with External Matching Spray, Chrome
Great job, Evin! You always come up with something new & it’s amazing.
Thanks, Kim! This one took quite a while (maybe four months) to build. But long-lasting and worth the effort. Probably cost as much as buying a fancy manufactured one, but I love that it has character and history. I do think I will paint the window frames and doors an asphalt blue at some point, mostly because it hides dirt! I’m kinda going through a tuxedo kitchen phase so it would satiate that as well.