Sometimes it’s time for pie, like my Grandma’s Pumpkin Pie or something fruity like this post’s Very Cherry Pie. Whether a chilly winter night with whipped cream and hot port or a warm sunny summer afternoon with a scoop of ice cream, homemade pie has a fresh flavor and nourishing element that is not paralleled by pre-packaged overly sweet pies. Not to say there aren’t wonderful store-bought pies out there, but let’s face it – made with love is extra special. You won’t remember why you ever used cherry pie filling after you try the homemade Very Cherry Pie. The ingredients work to bring out the natural flavors in the cherries and the result is a light and delicious dessert.
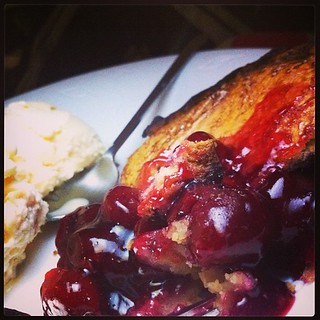
The photo above was the one I entered into #SundayCookOff in February 2013.
Now time for dessert! Cherry pie with ice cream. @mrcbehan @uluruarmagh twitter.com/FreckledPast/s… #sundaycookoff
— Evin (@FreckledPast) February 3, 2013
Here is my own cherry pie recipe. It was tested and perfected in June 2005 and been my go-to recipe ever since.
Evin’s Very Cherry Pie
2 refrigerated pre-made pie crusts (in the biscuit or cookie dough section of your grocery market)
2 1/2 cups fresh tart cherries (washed, pitted, and patted dry) or 2 cans pitted tart pie cherries (drained in a colander)
1 1/2 cups fresh Bing cherries (washed, pitted, and patted dry) or 1 can pitted Bing cherries (drained in a colander)
3/4 cup granulated sugar
1 tablespoon freshly squeezed lime juice
3 tablespoons flour
1 tablespoon unsalted butter
2 teaspoons vanilla sugar
1. Preheat the oven to 350 degrees.
2. Let the pie crust pastry circles warm to room temperature, then place one in a 9-inch round glass or ceramic pie dish. Prepare the bottom crust according to the instructions on the package, which should require it to be baked for 10 minutes, the cooled for 10 minutes before adding the pie filling. While the crust is baking, prepare the filling.
3. Mix the granulated sugar, lime juice, and flour in a bowl. This can be done with a hand mixer for quicker results, or with a fork. Once the ingredients are well blended, add the cherries and toss them with the sugar mixture. Be gentle as to not crush the cherries. Let the filling rest for 10 minutes, while the crust cools.
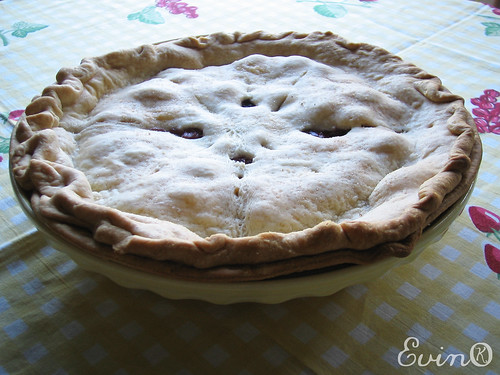
4. Pour the cherry filling into the slightly cooled pie crust. Dot the filling with butter. Add the second pie crust pastry circle to the top so its edges meet up with the edges of the bottom crust. Pinch the edges to seal the pie filling inside. Flute the rim in whatever decorative way you prefer (my pie is pictured here). Cut small slits in the top crust or do so with a decorative touch. Then sprinkle the top of the pie with the vanilla sugar.
5. Bake for 1 hour. Check often during the final 15 minutes to make sure you remove it just when the top starts to take on a pale brown shade and the crust edges are tan. Through the slits or openings, you should be able to see the cherry filling bubble slightly.
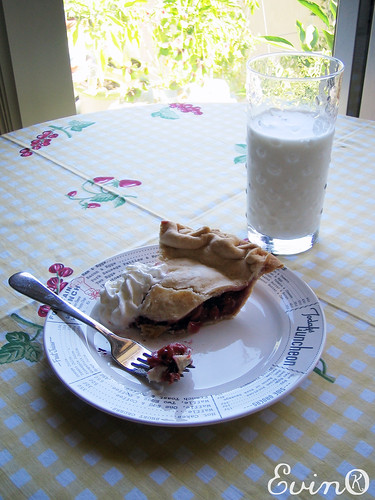
6. Let the pie cool for 10 to 15 minutes before serving with vanilla ice cream. The pie is equally good after being refrigerated and reheated briefly in the microwave. Since there are no preservatives being added to the ingredients, it is best to consume the pie within 3 or 4 days of baking, if kept covered and refrigerated. Somehow, I doubt that will be a challenge.